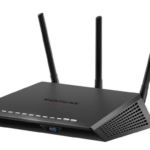


If mywifiext.net or mywifiext.net local doesn’t open, use 192.168.1.250 IP address for login. It is the Netgear default IP address used to install and configure your WiFi range extender. This default IP falls in the range of 192.168.1.1 – 192.168.1.255 which is known as the Class C IP range.
The login process with the IP is the same as that of mywifiext setup – open an internet browser and use number pad on keyboard to type http://192.168.1.250 in the address bar. Doing so will connect you to the Netgear_EXT (SSID) network. After logging in, you can install and configure your range extender with great ease.
MYWIFIEXT SETUP With 192.168.1.250
Here’s how to access the Netgear extender login page using 192.168.1.250 IP:
-
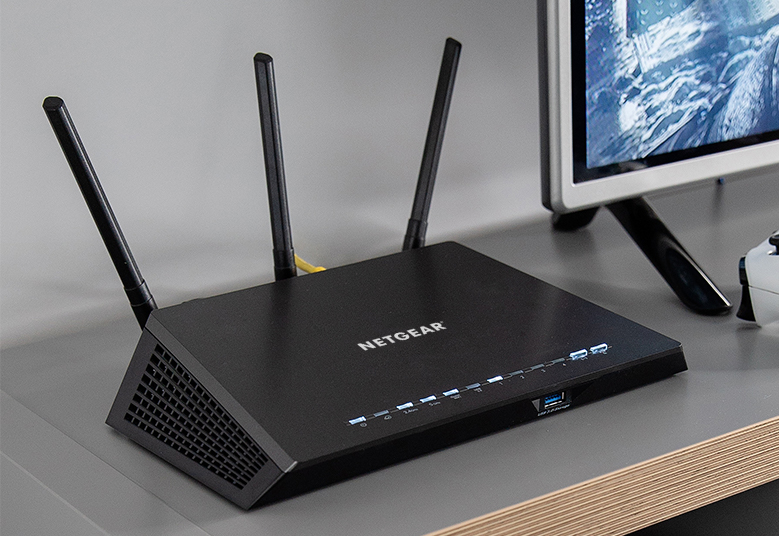
Plug in your Netgear wireless extender to a wall outlet and turn it on.
-
Make a wired connection between your extender and home router using an Ethernet cable.
-
Now open a web browser to access website/web url.
-
In the address bar present at the top-left side, type http://192.168.1.250 and press the Enter key.
-
You will get redirected to the Netgear extender login web page.
-
Enter the username and password into the given fields.
-
Hit on the Log In button.
Done! You are now on the Netgear extender dashboard while connected with netgear_ext (ssid) wifi connection. From here, you can access the genie smart setup wizard to install and configure your extender.
Can’t Connect to 192.168.1.250 Login Page?
Getting ‘http://192.168.1.250 taking too long to respond’ error while logging into your Netgear extender? Don’t worry! It is a common issue faced by almost all users around the globe. This happens because it is a private IP address and can only be accessed within the range of private networks.
If you are unable to connect to the IP address, then chances are high that this is not the default IP address of your WiFi range extender. Let us tell you that the Netgear default IP varies depending on the extender’s model number you own. That’s why get to know your extender’s default IP first and then use that IP to access the Netgear WiFi extender login web page.
Other Reasons Why http://192.168.1.250 Not Working
-
Your WiFi connection is turned off
-
The extender is not receiving proper power supply
-
Outdated extender firmware
-
WiFi connectivity problems
-
Your extender is turned off
How to Fix Issues With Netgear Default IP Login?
Let’s have a look at some easy-to-follow steps to get rid of the 192.168.1.250 not working issue:
-
Be certain that you access a fast and reliable internet connection on your device.
-
Check all cable connections. If you find any loose or improper connections, make them finger-tight and proper right away.
-
Verify that you are not entering the wrong IP address into the URL bar.
-
Use only the latest web browser version to access the 192.168.1.250 web admin page.
-
Delete temporary files, cache, cookies and browsing history from the web browser you are using for Netgear wireless range extender login.
Still unable to access the http://192.168.1.250 login page? Contact our experts now. No matter what your issue is, our knowledgeable technicians endow you with reliable, targeted solutions in minimal time.
Change 192.168.1.250 Login Password
Every Netgear WiFi range extender comes with a default admin password that can be easily found by anyone who knows the model number of your extender. Thus, anyone can enter your WiFi network and steal your bandwidth – that too without your knowledge. So, it is extremely important to change the default 192.168.1.250 login password as soon as you buy a new extender. You can do so by following the instructions mentioned below:
-
Power on your computer, laptop, or any other wireless client device.
-
Open an internet browser of your choice.
-
Use your keyboard’s number pad and type 192.168.1.250 (Netgear default IP) in the address bar.
-
Press the Enter key.
-
Wait until the Netgear extender login web page loads properly.
-
Insert the user ID and passphrase and hit Log In.
-
Once your extender’s dashboard appears, go to the Wireless Settings section.
-
Click on the Set Password option.
-
Enter the current admin login password in the ‘Old Passphrase’ field.
-
After that, type the new password you desire to keep for login.
-
At last, click on the Apply button.
In this way, you can change the default Netgear extender login using 192.168.1.250 IP.