


Retaining walls keep scene soil from dissolving. However, they likewise make a lovely finishing highlight. A very much-positioned retaining wall can make more usable space in your yard, particularly when your yard is normally slanted or bumpy. Building a retaining wall is a direct undertaking that offers many advantages and finishes potentially open doors.
Decreasing soil disintegration, transforming steep slants into terraced backgrounds, making central focuses in the scene — retaining walls fill some needs. To be sure, they are the absolute most well-known ways of revising issues brought about by sloping regions! Very much constructed retaining walls change impossible grades into usable outside space for the nursery.
Despite their straightforward appearance, these walls require a reasonable setup of arranging — once in a while, proficient designing — to keep their shape. Soil is weighty, particularly while splashing wet from a new rainstorm, so an essential retaining wall (four feet tall and 15 feet in length) possibly needs to help as much as 20 tons of soil pressure. With each extra foot of level, the tension of the dirt increases considerably. Misjudge your development plans, and you could wind up with a frail wall where dangers are protruding or, more terrible, imploding through and through. For simply this explanation, retaining walls taller than four feet ought to be planned and built by the masters.
For building retaining walls, you can contact Retaining Walls Adelaide for help.
How to Build A Retaining Wall
Step 1: Things to Consider
Here are some things to be aware of before you begin purchasing materials and building a retaining wall:
- Contingent upon the wall’s level and your area, you might require a structured grant to introduce a retaining wall. Check your nearby building regulations and limitations and your property holder’s affiliation (HOA) limitations.
- Pick a Do-It-Yourself accommodating structure material. Retaining walls can be produced using wood, blocks, regular stones, or substantial blocks.
- At the point when the dirt behind a retaining wall gets wet, it applies significantly more tension and weight against the wall.
- While purchasing material, buy 10% more than whatever you gauge you want.
- Plan to fabricate your wall after a significant stretch without a downpour when the dirt is dry.
Step 2: Plan The Location
- Utilizing a measuring tape, conclude the length and width of your retaining wall.
- Separate the region with garden stakes and a bricklayer’s line or other string. Attach the string to the stakes at the ideal level of the wall. Ensure the string is level.
- Assuming your wall will be bent, use paint to check the shape and area of the wall.
Step 3: Dig A Trench And Level The Ground
The outcome of your retaining wall relies upon a level base. Ensure the ground stays even all through. Observe the Retaining Walls in Adelaide for help.
- Start diving into the ground with a digging tool.
- The channel ought to be sufficiently profound to cover, to some extent, a portion of the level of your most memorable course of blocks as they sit on a 2-to 3-inch base of the rock. Contingent upon the size of your blocks, this profundity will be around 4 to 6 inches.
- The channel ought to be two times as wide as a solitary block.
- Whenever you’ve dug the channel, conservative it with a hand alter or vibrating plate compactor.
- Put a standard level on a 2 x 4 in the channel to guarantee that the base is smooth and level.
Step 4: Lay The Base
- Pick a rock that has stones estimated between 1/2 inch and 3/4 inch.
- Fill the channel with a 2-to 3-inch layer of rock.
- Utilize a rake to guarantee the stones are equally disseminated.
- Pack the base with your alter to ensure it’s uniformly compacted.
Step 5: Lay The Main Course of Blocks
- Focus on the main course of blocks in the channel.
- Position your most memorable block and utilize a standard level to ensure it’s even. If necessary, reposition it utilizing extra rock and an elastic hammer to tap it into place.
- Keep laying your most memorable course of blocks while ensuring each block is level.
- After you complete the main course, occupy the space between your retaining wall and the scene with rock.
- Pack the rock to build the wall’s security and solidness against soil disintegration.
Step 6: Cut End Blocks
- Utilize a straightedge to draw a rule down the center of the block.
- Some retaining wall blocks have Angular indents on the rear.
- You can likewise slice blocks down the middle utilizing a round saw with an artistry edge.
- Continuously wear eye and ear insurance and a residue or respirator veil for this step.
Step 7: Lay Addition Courses
You’ve effectively laid the basis for additional courses by introducing an even first course. This is the way you lay higher degrees of interlocking wall blocks.
- Dismiss the main course of blocks with a brush to eliminate any garbage.
- Begin the second course of blocks with one portion of the end block you cut in the past step.
- Lay the remainder of the subsequent course impedes, interlocking them with material, and complete the course with the other portion of your cut block.
- Check for level as you proceed to change, depending on the situation.
- Retaining wall hinders commonly need not bother with glue to lay each course.
Step 8: Install Drain Pipe
- Utilize a punctured folded pipe. The line ought to reach out behind the whole wall length and channel some place the water can leave the region.
- Cover the line with a channel sleeve to hold residue back from stopping up the channel.
- Pour rock behind the wall to cover the line.
- Continue laying courses on a case-by-case basis.
Step 9: Final Touches
- Get over the last layer of stones and clear off any garbage.
- Utilizing development glue, secure your capstones and make the top layer of your retaining wall. The block covers should overhang the retaining blocks by 1 to 1 1/2 inches.
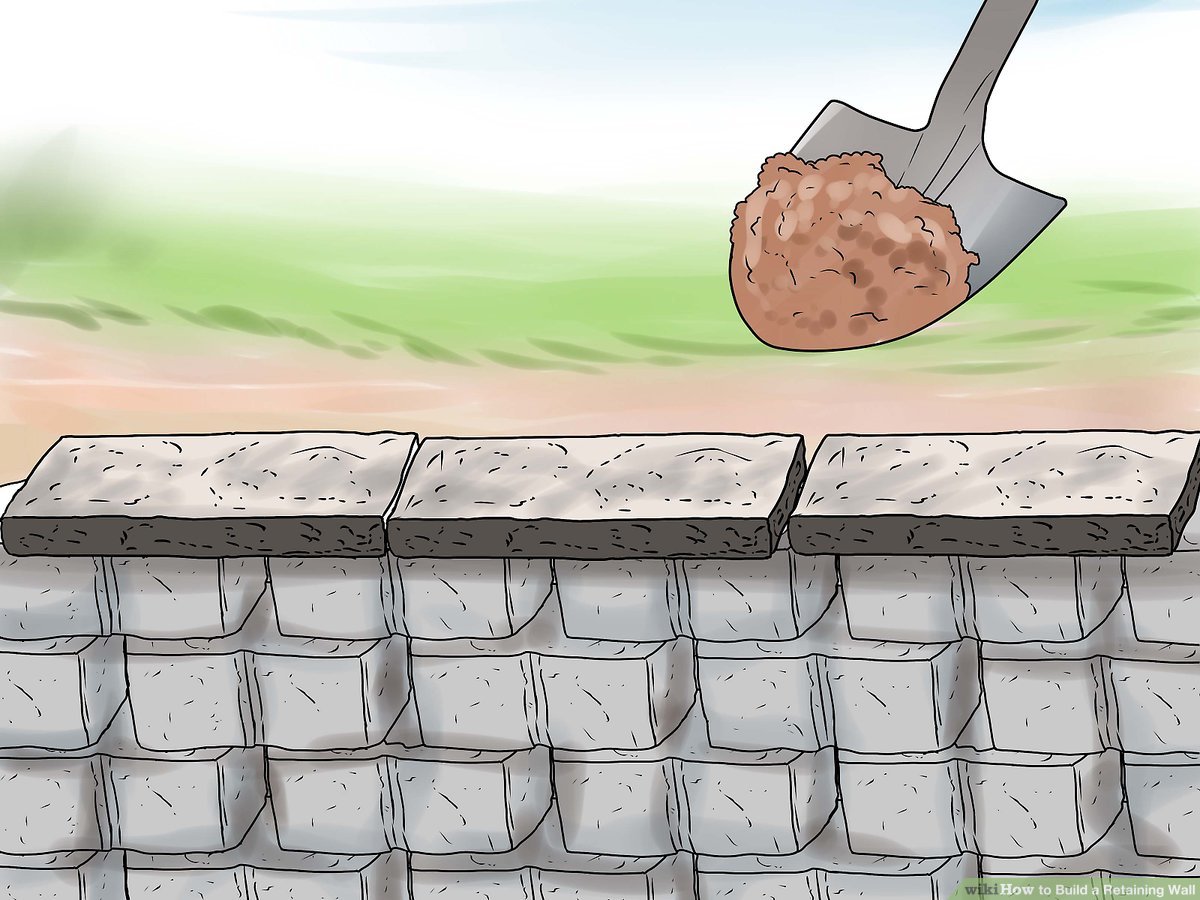
- Supplant the dirt and grass before the retaining wall on a case-by-case basis.
Conclusion
Retaining walls can be built utilizing different materials, from poured concrete and enormous wood to normal stones and even blocks. For Do-It-Yourself purposes, pick fabricated blocks that are planned explicitly for building retaining walls; a locking rib along the base edge makes a solid connection between lines.
A retaining wall is a useful and appealing expansion to your yard’s finishing. Figuring out how to fabricate a retaining wall yourself is an incredible cash-saving tip for work costs. Sit back and relax if you don’t claim the devices expected to finish this venture. Lease what you want to fabricate a retaining wall from various Retaining Wall Industries.