


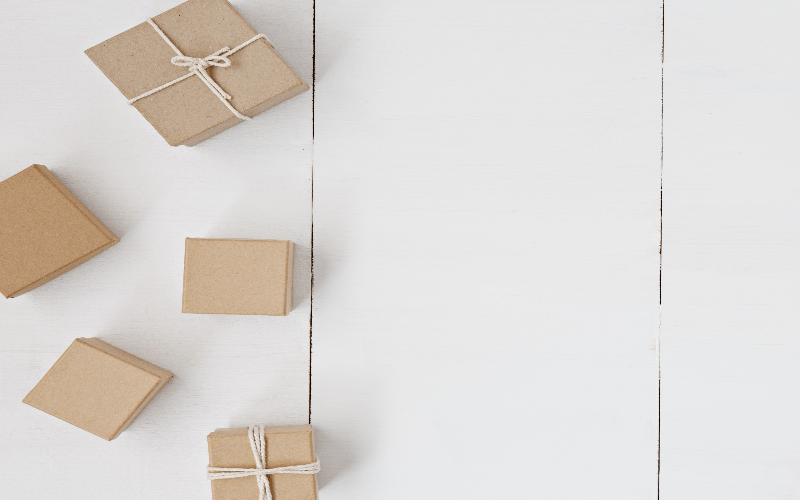
Making custom boxes is vital as they are in use for a few excellent reasons that I’ve discovered, as well as—I’m sure—a variety of other and varied ones. Perhaps it’s the holiday season, and you’re wrapping a present that requires a box for form or structure, or would benefit from a layer of protective cardboard, or you need to put an item of an unusual shape/size into a box for storing/mailing.
I build packaging for the eBay things I sell. Making an item’s own box reduces the size, weight, and need for additional packing material, resulting in lower postage/shipping expenses.
Table of Contents
Making Your Own Custom Boxes
You just need used cardboard, a box cutter (razor blade), and packaging tape (in a dispenser works best).
Step 1: Disassemble
Open the top and bottom tabs of the box to begin disassembling it. If you prefer to use a box cutter, you can cut through the tape before unfolding the tabs. You can then unfold the cardboard onto a long, straight piece by turning it on its back and cutting one of the corners from top to bottom.
Step 2: Draw Lines at the Corners
There is now a single long piece of cardboard on the floor. Place the object (in this example, a framed picture) on the cardboard such that half of its width equals the space between the item and the cardboard’s edge. As a result, if you folded the cardboard up on the object, it would only be halfway over that side. If the edge of the item touches the cardboard, make a cut line there with the box cutter from top to bottom.
At this point, do not cut away the cardboard to remove it! Just grab the blade and trace a line on the cardboard! The cardboard will precisely fold when you do this. Make a second parallel cut line on the other side of the object. In the air, roll the object 90 degrees so that one side is still standing on the original cut line, then create another parallel cut line. Lay the object down to complete the 180-degree roll. It is possible to accomplish this by cutting parallel to the edge that just touched down on the cardboard while keeping one side on the previous cut line.
Using the box cutter, we’ll remove the remaining extra cardboard entirely, from top to bottom, by leaving half the width of the object as space on the cardboard (like we did before).
3rd Step: Size-specific
Put the object along the top or bottom of the cardboard so you can trim it to size. Do not force the thing to the very edge! You must leave half the width of the item’s side as additional cardboard that may fold up onto the item’s sides.
Leaving half of the object’s width as additional cardboard, cut off the remainder of the surplus cardboard entirely from the side.
4th Step: Flip and Fold
Remove the object from the cardboard and turn it over to the other side. Fold following the cut lines and see how quickly and elegantly it bends and produces the box’s four edges!
Fold the box shut after inserting the object. The first time I tape a box, I wait until the sides are fixed, but since this is the first box, you may find that it is faster to tape it now, where the edges meet from top to bottom.
Step 5: Repair the Sides
Look at one of the two open sides to reveal your item’s side and some extra cardboard leftover. This is what you have to store over to create the box’s side.
You should clip four separate tabs from the exposed corners, with the box cutter, cut from the inside out, beginning at the object and working your way away from it. As well as the four cut lines along the outer edge of the cardboard object, it now needs to be cut in this way at the four corners as well—rep for the other side of the box.
Then you’ll be able to tape the box. You may tape it all together or in sections. You might have to apply a little more tape if you believe your box requires more tape. But a box that is well-fitted and well-cut only needs to be taped along the edges.
Step 6: Voila!
If you have a delicate item, use bubble wrap instead of a bespoke cardboard box. You may even stretch out and make your own triangular box to accommodate posters or an oblong or unusual-shaped box to fit anything.
But that’s not all. You can save money by using less tape, no packing peanuts or foam, and a lower postage/shipping cost if you are delivering in the smallest/lightest box feasible. And, on top of that, you’re recycling boxes by giving them a second chance!
Should I buy custom boxes?
There are plenty of businesses that are doing it correctly. It is OK to keep an eye on the competitors. Check your social media networks to see who is getting the most unboxing hype and get some ideas.
Don’t Forget About the Practicalities
You could be overjoyed with your beautifully designed custom boxes, complete with branded tissue paper and logo-inspired stickers. But don’t forget about the practical necessities for delivering your products.
Profits are important since you’re ultimately operating a company. It’s essential to consider transportation expenses, which depend upon the size and weight. Another responsibility is to make certain that your items get to their destination in one piece.
Packaging must also be functional and safeguard the contents. You may have lovely high-end boxes that you decorate with exquisite wrapping. But if your things are broken, your buyers will remember just that. And broken products aren’t going to go down well in an unpacking video.
Final Thoughts
There are several alternatives available for custom boxes and customized bagged packaged goods. You don’t want to go overboard. But you do want to take advantage of this simple technique to market your company. Don’t undersell your stuff. Take full advantage of displaying your things in their finest light. Also, utilize careful packaging to provide your consumers with a customized, one-of-a-kind experience they’ll want to share.