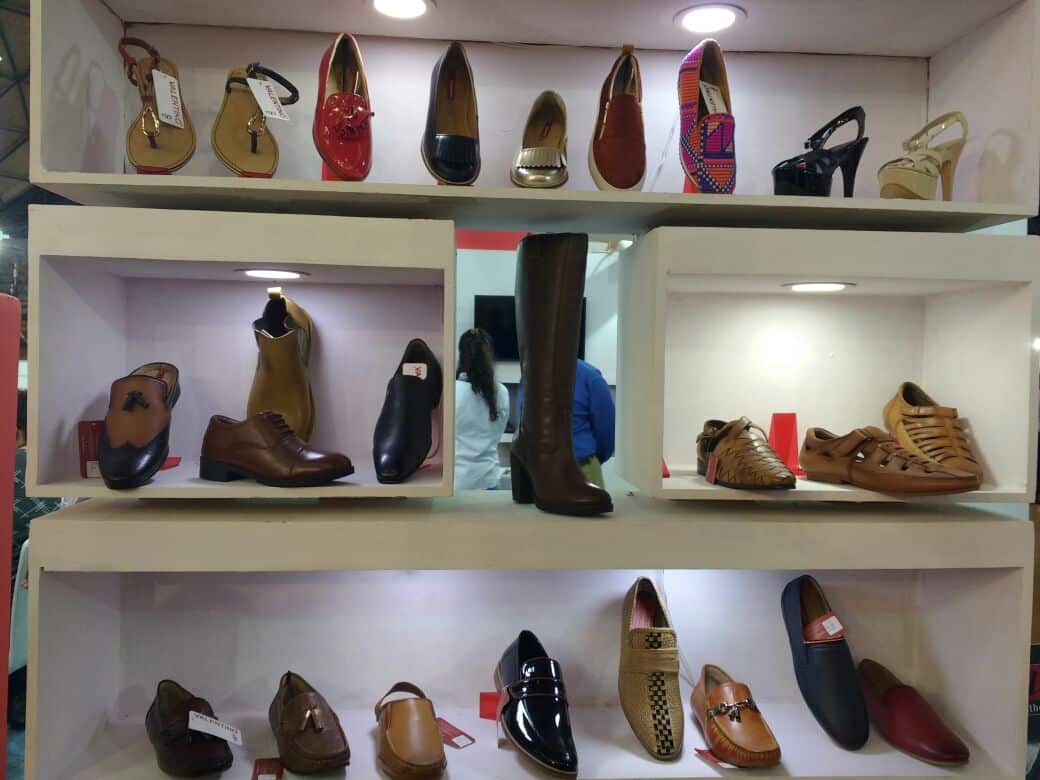


We decided to open an online shop or sell products on flea market sites, and we are ready to sell products. The product may look pretty good in your home space. But how can you make your product stand out in an era full of fascinating photos, especially Instagram? How can I take a nice product image?
In fact, you don’t need the skills and equipment that a professional has to take great pictures. Here, I would like to introduce step by step how to take product photos that can be done using only smartphones, natural light, and photo apps .
Table of Contents
How to take professional-looking product photos with your smartphone
Most online shop owners know the basics of how to shoot products using a smartphone. After finding a white background and natural light, setting the highest quality and highest quality possible on your smartphone, you can take a product photo with just a click. This should be enough at first.
In addition, there are many tools and accessories to further improve the photos you take. By using them, it is possible to take excellent pictures that show the value of the product more clearly and imagine the shopper actually using the product.
If you want to take professional product photos with your smartphone, first prepare for the shoot by following the steps below.
1. Use a room with bright natural light
First, choose a well-lit room in your home. Writing is important. The larger the window, the more natural light will come in and the more lively the product will look.
Shooting near a window will soften the light and darken the shadows. The farther away from the light source, the thinner and clearer the shadows will be.
2. Smartphone selection
Most modern smartphone cameras can replace digital SLR cameras for product image capture. The higher the number of pixels, the more beautiful the product photo will look.
It doesn’t matter what kind of smartphone you have with a good camera function, but ideally you should choose a newer model with a Digital camera function of 12 megapixels or more
3. Procure a mini tripod
Mini tripods range from cheap to expensive, but they are a good investment that offers many benefits, regardless of the amount. Using a mini tripod is very convenient because it suppresses camera shake, sets a standard angle for photography, and allows you to style your products.
If you are considering purchasing a simple mini tripod, we recommend the Manfrotto PIXI small tripod kit.
You can visit Queenslandmax for more interesting movies information.
Suitable for beginners, “Manfrotto PIXI” is compatible with smartphones up to 3.3 inches (about 8.4 cm) wide, and you can firmly fix your smartphone with a clamp with excellent grip. It can also be quickly placed on back paper to help you easily take high quality photos. The “Manfrotto PIXI” mini tripod can be purchased at online shops.
4. Set the background
Placing a white background behind the item not only makes the photo clearer but also gives it a consistent look and allows you to eliminate the distracting behind. You can use a background backing paper to create a white background, or you can buy a poster board at an art store and substitute it if you want it to be cheaper. You will also need a table to put the background on.
You can use cellophane tape to fix the background or attach products. If you don’t have cellophane tape, you can use a poster tape that you can peel off.
Always use “white” for the background. The white background reflects natural light on the product, allowing you to take evenly lit photos. It’s also easier to edit because it doesn’t require you to remove the background. Keep in mind that cream and off-white complicate editing and setting the light. The background should be placed below the product as well as behind it.
5. Use a white bounce board
Controlling the light is an important point in taking product photography on your iPhone or Android. Bounce boards are useful for creating a well-balanced light condition that minimizes dark shadows and brings out the finest details of your product. White Styrofoam bounce boards can be purchased from Amazon and elsewhere.
6. Install a diffusion sheet if the sunlight is too strong
If the light is too strong, a diffuser will soften the light. Diffuse sheets can be purchased from Amazon, etc., or you can make your own using parchment paper, white shower curtains, print paper, etc.
Now that you’re ready to shoot, let’s take a look at how to take a product photo with natural light using your iPhone or another smartphone.
Writing tips
When shooting products on iPhone and Android, the light at the time of shooting can be very useful or it can be a troublesome problem. Once you get the hang of it, you’ll be able to take great product photos, but if you use it incorrectly, the image will be useless even if you retouch it.
There are three important tips for taking good pictures.
1.Take a picture in a room with good light.
Natural light coming in through windows is an excellent choice comparable to photo studios and artificial lighting. First, every home has access to windows (and it’s free). Second, light comes in from only one direction, giving the product a natural and textured impression.
It’s a good idea to take into account the weather, such as sunny or cloudy skies. Depending on the look you’re looking for, a slightly dull sky may be better than a brilliant sun. As you can see in the example image below, the shadows and highlights in the photo can make a big difference in appearance.
2. Set the shooting location near the window.
The shooting location should be 90 degrees to the right or left of the window. We recommend that you start shooting when the sunlight is brightest. If the sun is too bright, use a diffuse sheet to soften the light.
No matter what you do, it is imperative to avoid strong sunlight. This is because when exposed to strong sunlight, the saturation increases and even minute defects that are normally invisible to the naked eye are highlighted.
3. foam board and reflectors
control the natural light using. The sun may suddenly hide in the clouds during shooting. In such a case, you can use a foam board to reflect light to increase brightness and suppress shadows.
When using a reflector, it is possible to control the reflection of light by moving the reflector closer to or further from the product. Therefore, it helps to reflect the light from the sun on the product.
When using the reflector, try several different angles to find the right balance between shadow and light.