


Netgear WiFi range extenders, also called WiFi boosters or wireless repeaters, are intended to amplify the existing network range and coverage. In technical terms, it takes the incoming signals from the router and then rebroadcasts after amplifying them. These devices can be easily set up using mywifiext.local web address or even 192.168.1.250. If mywifiext.net not working, then you can also try mywifiext.local or this ip address i.e. 192.168.1.250.
If you are residing in a large home or office, you may experience poor or no connectivity zones known as dead zones or blind spots. In this case, a Netgear range extender will certainly be your best bet. So, if you are getting no wireless signals throughout the house or office, just install and configure a Netgear range extender and start enjoying its plentiful advantages.
Netgear wireless extenders are available in various different models. You can choose the one from them as per your requirements e.g. EX6200 is first-class extender making use of 700mW high-power design and 802.11ac technology. Netgear extender setup is ideal for homes or offices where the main access point or an Ethernet connection is not providing the enough range.
As we all are aware of the fact that mywifiext setup is the default login address for Netgear extenders. But it doesn’t work at times. Chances are you are setting up Netgear extender with your Apple device like Mac. If it is so, use mywifiext.local web address for extender setup.
In this tutorial, we will walk you through the complete process to install and configure Netgear WiFi range extender with Apple devices. Scroll down to read more.
Mywifiext.local
On Mac or iOS devices, use mywifiext.local web address to open the setup page for extender. All you need to do is open a web browser connected to the network and go to this web page. It will open Netgear smart wizard to set up extender with ease.
Mywifiext.local fails to connect
There is a number of users across the world who face the same issue during extender setup i.e. mywifiext.net setup page fails to connect. While accessing this web URL, users come across error pop-ups saying ‘this site can’t be reached’, ‘server not found’, ‘unable to connect to the site’ etc.
As technology advances, different browsers have started showing different error screens. Therefore, on the basis of the browser you use, you get error pop-ups. This is because of:
- Browser issues
- Internet connection problem
- Technical issues
- Poor connectivity
- Issues with computer or laptop
- Network problems
- Cache issues with browser
- ISP problems
In order to get instant access to mywifiext.net setup webpage, clear web browser cache, cookies and history. Or use another internet browser.
You can also contact your ISP (Internet Service Provider) to know whether you are receiving the promised internet speed.
New Extender Setup using Mywifiext.local
Looking for how to set up extender with Mac, iPhone or iPad? If yes, follow the given instructions below:
- Power on the extender in a proper manner.
- Apply appropriate or fluctuation-free power supply to it.
- Switch on your Mac.
- Connect it to an available, reliable network connection.
- Launch an internet browser you like.
- Go to mywifiext.local website.
- Fill email and password in the given fields.
- Choose the router network.
- Connect WiFi devices to Netgear_ext network.
- Finally, click on Finish button.
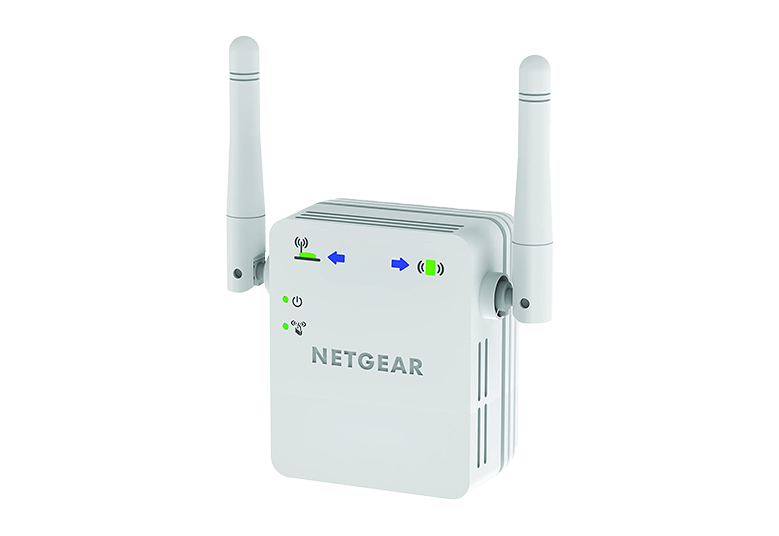
In case you get four green lights on Netgear WiFi range extender, it indicates that the extender has been set up properly using mywifiext.local.